Seat Cover Installation: DIY vs Professional (2026 Guide)
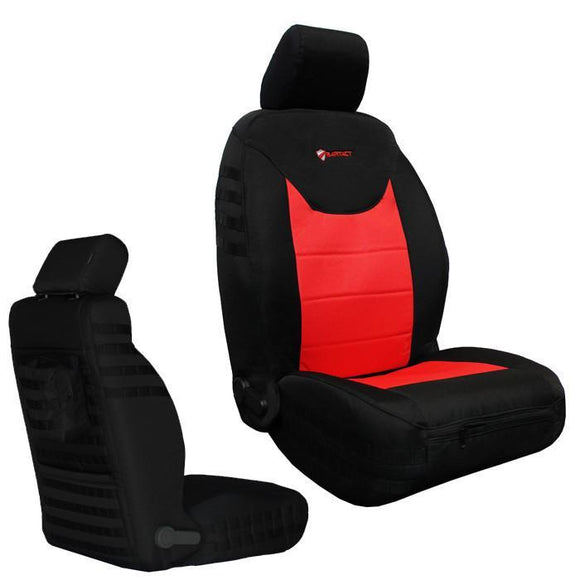
You've bought the right seat covers for your truck. Now comes the question: install them yourself or pay someone to do it? The answer depends on your truck, your covers, your patience, and how much you value your time.
This guide walks through what DIY actually requires, when professional installation makes sense, and realistic costs for both options.
DIY Installation: What You Actually Need
Tools Required
- Screwdriver set (Phillips and flat-head)
- Socket wrench set (if your truck uses bolts for seat attachment)
- Panel removal tool (plastic pry bar, $5–$10)
- Flashlight (seeing under seats helps)
- Patience (honestly, this is the biggest requirement)
Optional But Helpful
- Torque wrench (ensures bolts are tightened to spec — prevents overtightening)
- Work table or parking spot with good lighting
- Helper (installing covers on both front and rear simultaneously speeds the process)
Time Required
- Universal-fit covers (Smittybilt G.E.A.R., Rough Country): 30–45 minutes per truck (front + rear)
- Custom-fit covers (Bartact, EKR): 45 minutes to 1.5 hours per truck
- First-time install: Add 30 minutes because you'll have to figure out the specific attachment points
Most people can DIY install seat covers in under 2 hours for their first attempt, then get faster on subsequent vehicles.
DIY Installation: Step-by-Step
For Custom-Fit Covers (Bartact, EKR)
- Remove seats if required: Some covers require complete seat removal. Most custom-fit covers don't — they install over the seated frame. Check your product instructions.
- Identify attachment points: Modern seat covers use hooks, straps, or adhesive to stay in place. Locate where the cover attaches under the seat, on the back, and on the sides.
- Slide the cover over the seat frame: Start from the top and work down. The cover slides over the seat like a pillowcase.
- Secure bottom straps: Hooks or straps hook into frame components underneath the seat. These keep the cover tight against the seat.
- Secure side/back attachments: Some covers have attachments on seat backs or sides that hook to the frame.
- Adjust for comfort: Step back, look at the fit. Smooth out wrinkles. Tighten straps if the cover is loose.
- Install headrest covers if included: Slide over the headrest. Takes 2 minutes per headrest.
For Universal-Fit Covers (Smittybilt, Rough Country)
- Lay the cover over the seat: Universal covers are more forgiving. Just spread them across the seat.
- Tuck and secure straps: Universal covers rely on straps and adjustable hooks. Tuck the cover under the seat and tighten straps until the fit is snug.
- Smooth out wrinkles: Walk around and smooth any loose fabric.
Common DIY Mistakes
Mistake 1: Not Reading Instructions
Each brand has a specific installation method. Bartact covers install differently than Smittybilt. Reading the instructions takes 5 minutes and prevents 30 minutes of frustration.
Mistake 2: Over-Tightening Straps
Tight is good. Over-tight (pulling so hard the cover tears) is bad. Tighten until the cover feels snug, then tighten one more notch. Stop.
Mistake 3: Installing With Seats in Incorrect Position
Some covers are easier to install if the seat is slid all the way forward or back. Don't skip this step.
Mistake 4: Forgetting About Side Airbags
Custom-fit covers have airbag-compatible cutouts. If you install a universal cover, verify it doesn't block airbag deployment areas. This is a safety issue.
Mistake 5: Not Checking Fit After Installation
After installing, sit in the seat. Does it feel right? Is the cover wrinkled or loose? Better to fix it now than discover problems after a week of driving.
When to Hire Professionals
Professional Installation Makes Sense If:**
- You don't have basic tools
- You're uncomfortable working under seats
- The truck has complex seat configurations (captain's chairs, split benches)
- You're buying multiple vehicles and want consistent installation
- You want a warranty on installation (some shops offer this)
- Your time is valuable — you'd rather pay $100–$200 than spend 2 hours
Professional Installation Doesn't Make Sense If:**
- You have 30 minutes and basic tools
- Budget is tight (DIY saves $100–$200)
- You're installing universal-fit covers (they're genuinely easy to DIY)
Professional Installation: What to Expect
Cost
- Basic installation (Smittybilt, Rough Country): $80–$150
- Custom-fit covers (Bartact, EKR): $150–$250
- Full truck (front + rear seats + headrests): $200–$400 depending on complexity
Timeline
- Shop turnaround: 1–2 days typically. Some shops do same-day if they're not busy.
- Actual installation time: 1–2 hours. The cost includes labor, not just time.
Where to Find Installers
- Dealerships (often pricey, $200–$400)
- Local auto upholstery shops (good for custom work, $150–$250)
- Best Buy, other retail shops (sometimes offer installation services, quality varies)
- Independent mechanics ($150–$200, quality depends on experience)
Questions to Ask Before Hiring
- Do you have experience with this specific brand/model?
- What's included in the price (just labor, or parts too)?
- What's your warranty on installation?
- Can I bring my own covers or do you sell them?
- How long does it take?
The Cost-Benefit Breakdown
DIY Installation
- Time: 1.5 hours
- Tools: $0 (assuming you have basic tools)
- Total cost: $0
- Hourly rate: Free (or $0/hour)
Professional Installation
- Time: 1.5 hours (for you — it's 1.5 hours shop time)
- Labor cost: $150–$250
- Total cost: $150–$250
- What you get: Peace of mind, professional result, warranty on work
The Decision**
If your time is worth less than $100–$150 per hour (and for most people it is), DIY makes financial sense. If your time is worth more than that, professional installation might be worth it.
For universal covers (easy 30-minute installs), DIY is almost always better. For complex custom fits on unfamiliar trucks, professional installation has value.
Warranty Implications
Does DIY Installation Void the Warranty?
Typically no. Seat cover warranties cover manufacturing defects, not installation quality. If your cover tears during DIY installation because you forced it, that's on you. If it tears at the seam because of a manufacturing defect, warranty covers it regardless of who installed it.
Pro tip: Take photos of your DIY installation. If a cover fails later and you file a warranty claim, photos show you installed it correctly.
Final Recommendation Framework
DIY If:**
- You have 1.5–2 hours to spare
- You're installing universal-fit covers
- You want to save $150–$200
- You're comfortable with minor mechanical work
Professional If:**
- Custom-fit covers on an unfamiliar truck configuration
- You value convenience over cost
- Multiple vehicles and you want consistency
- You want a warranty on installation quality
Hybrid If:**
- DIY the front seats (easier, more forgiving)
- Professional for rear seats (awkward angles, harder access)
- Cost: ~$100 for professional rear installation, DIY front saves time
Ready to install? Get the right covers for your truck.
Find Your Seat Covers →